
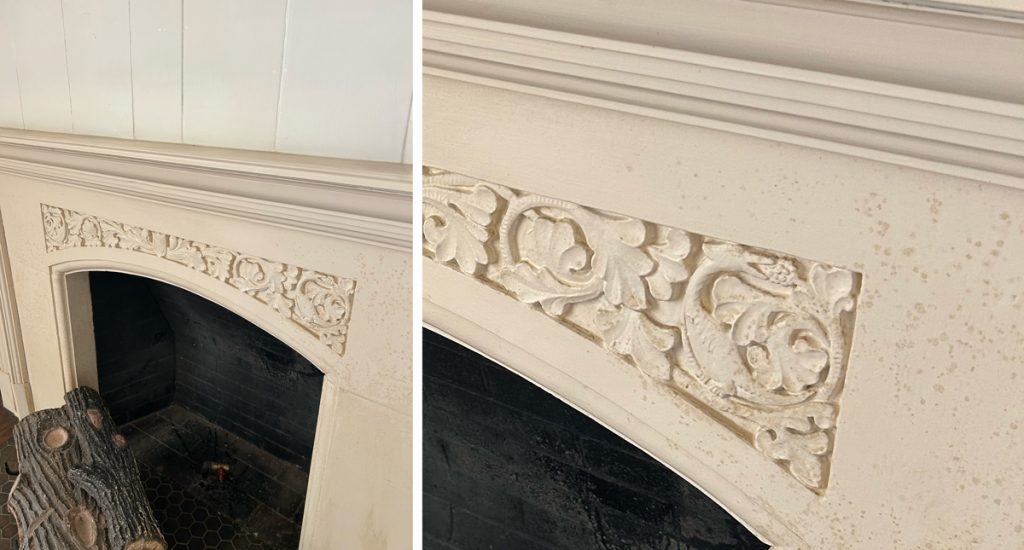
A Little Research and a Lot of Nerve
Before I started, I did what any reasonable person would do. I went down the internet rabbit hole looking for the best way to remove paint from limestone without damaging it. The problem was that the more I researched, the more conflicting and downright contradictory information I found. Everyone seemed to have a different opinion about what to use, what not to use, and how to go about it.
I finally decided to test a small, inconspicuous area to see what happened. It appeared to work without damaging the stone, so I took a chance and moved forward.
A quick disclaimer: I am absolutely not suggesting that anyone use this process or consider it the safest or recommended way to restore limestone. I realize there are risks involved, and I am certainly not a stone restoration professional. With so much conflicting information online, I made the decision to test a small area and take a chance based on what I was seeing. It worked for me on this particular fireplace, but that does not mean it is the right approach for anyone else’s stone. Please do your own research and consult a professional before attempting something like this.
Citristrip, a Razor Blade, Toothbrush, and a Whole Lot of Patience
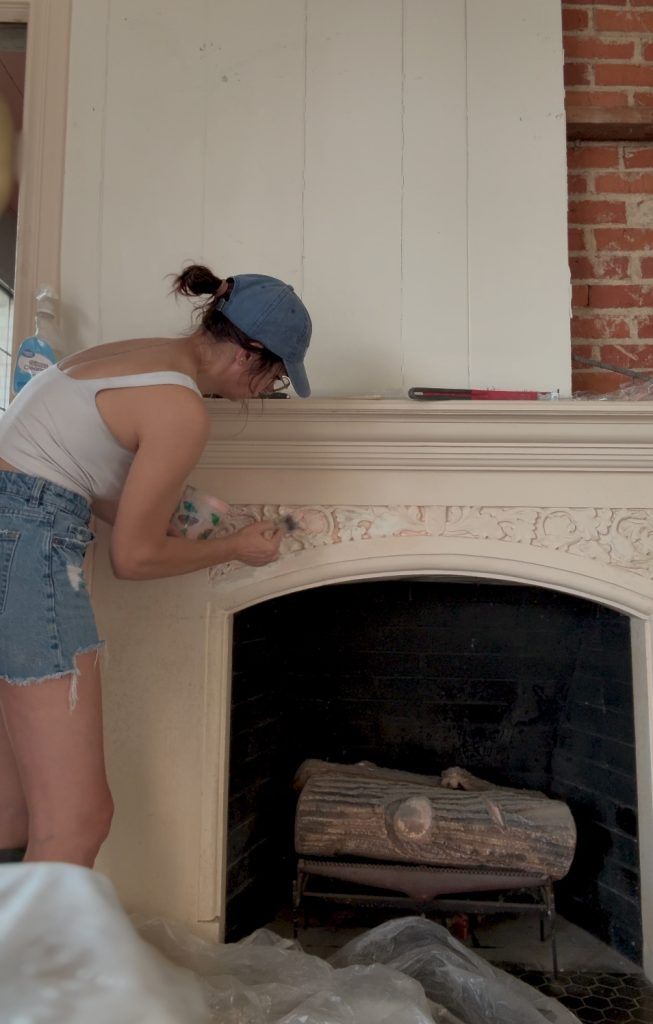
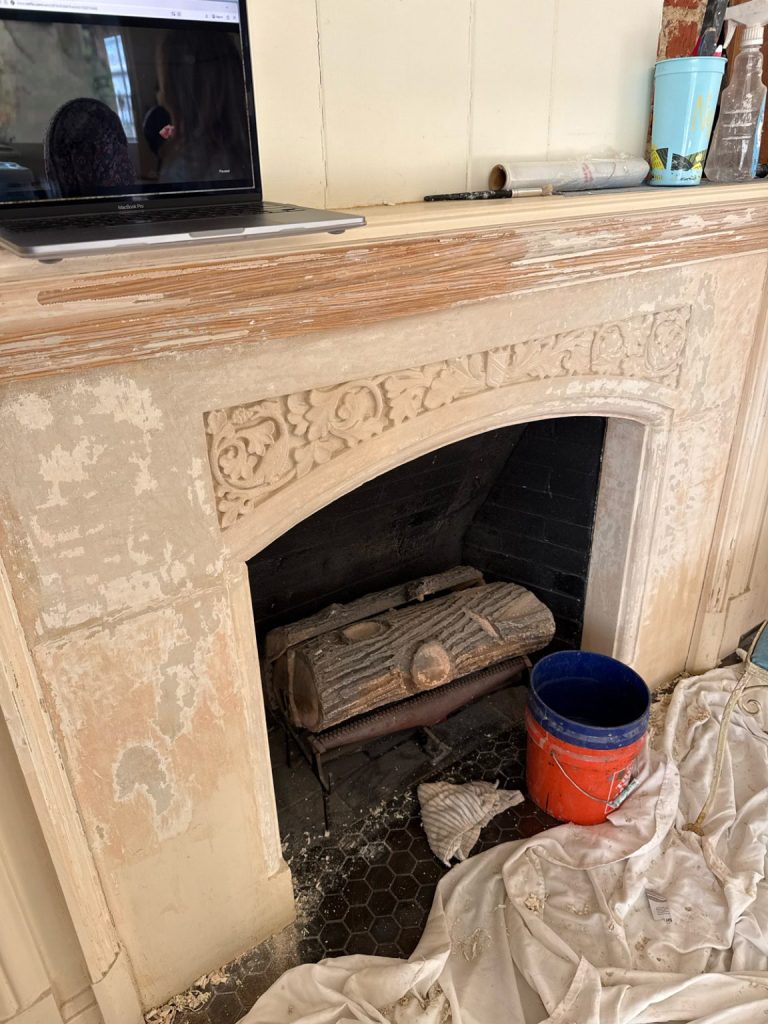
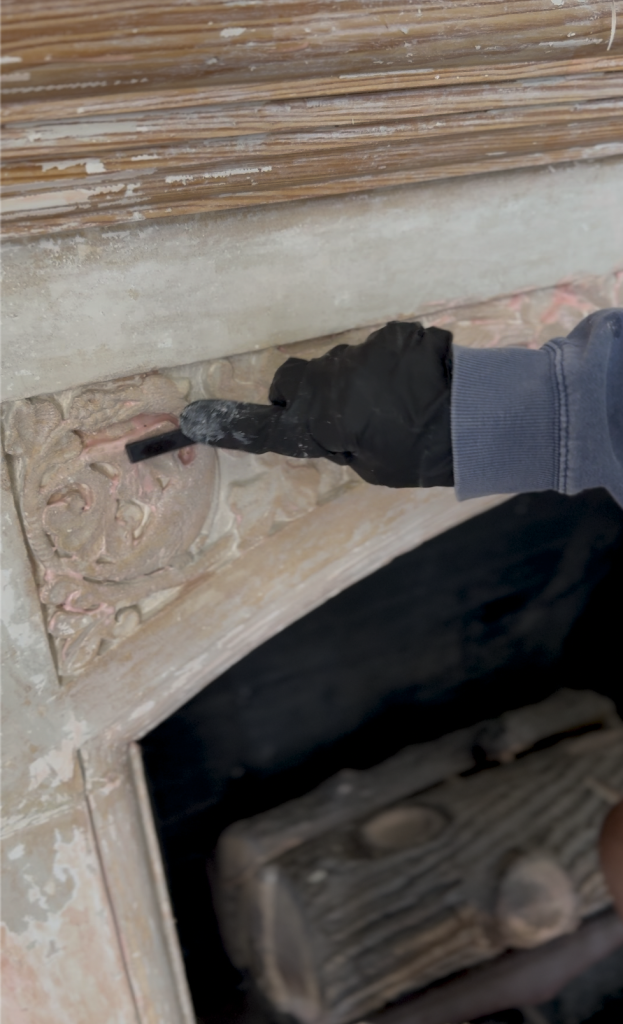
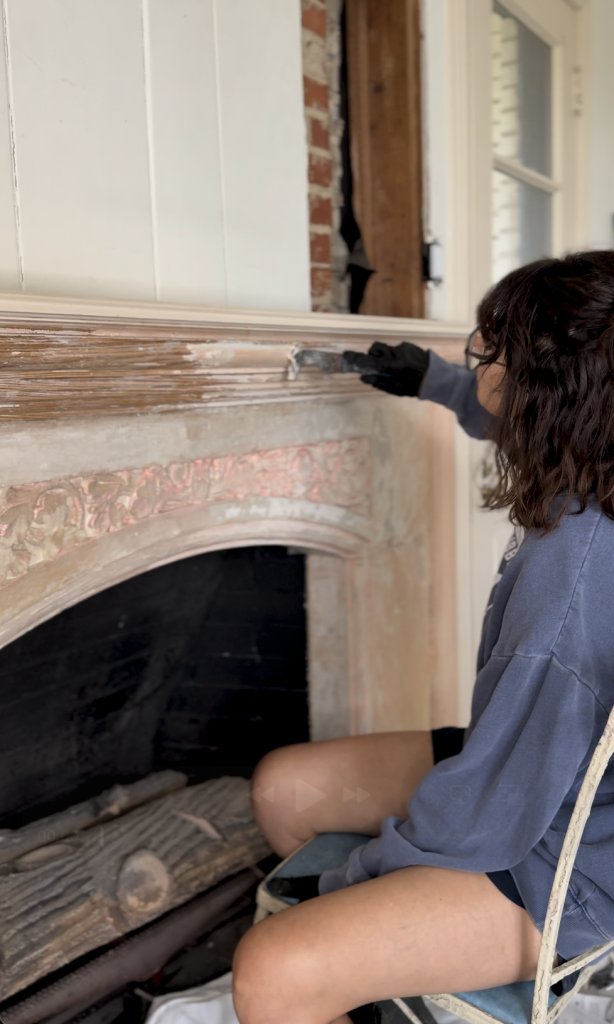
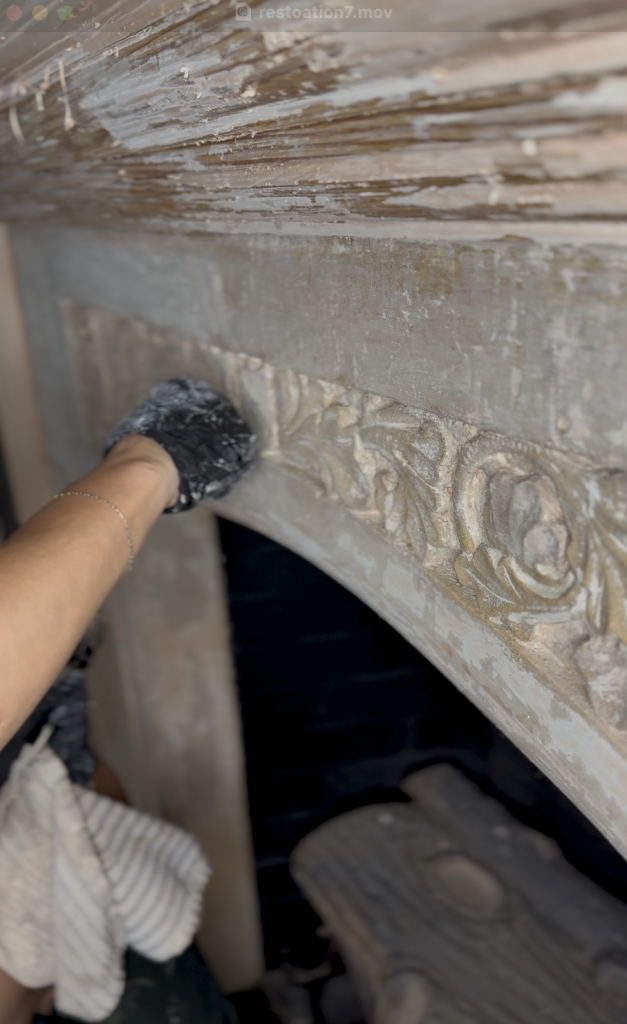
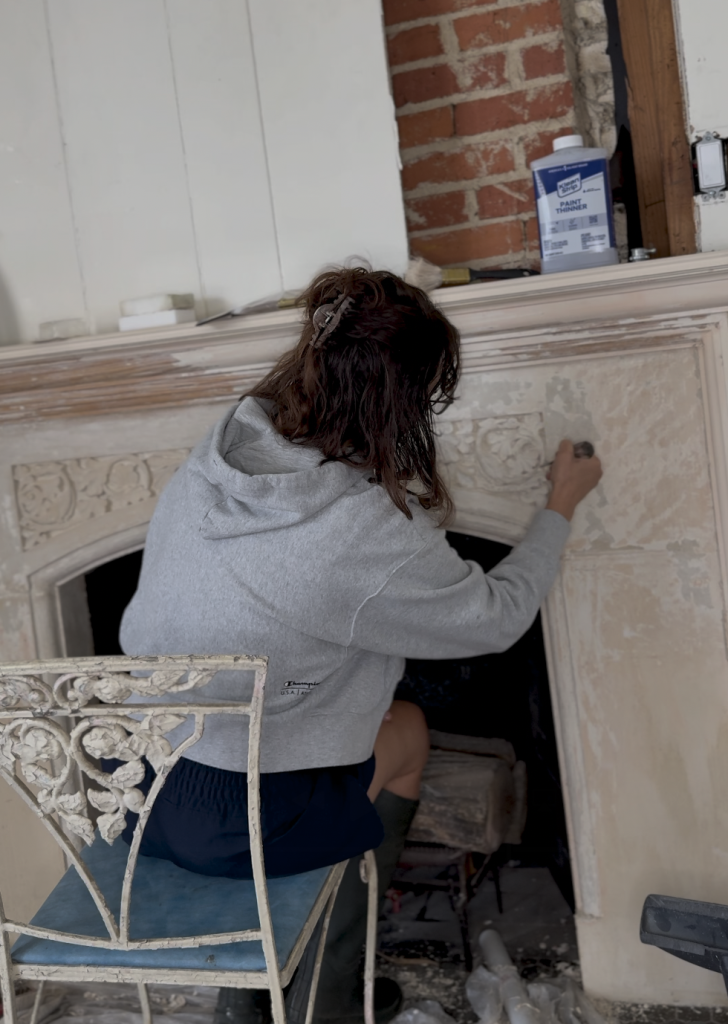
Once I decided to move forward, the process was pretty straightforward, although definitely not quick. I used Citristrip in very short spurts – (no longer than 30 min at a time), a razor blade, toothbrush, and a nail punch to carefully work the paint out of all the little details. There may be better tools for the job, but these were what I had, and they got the job done.
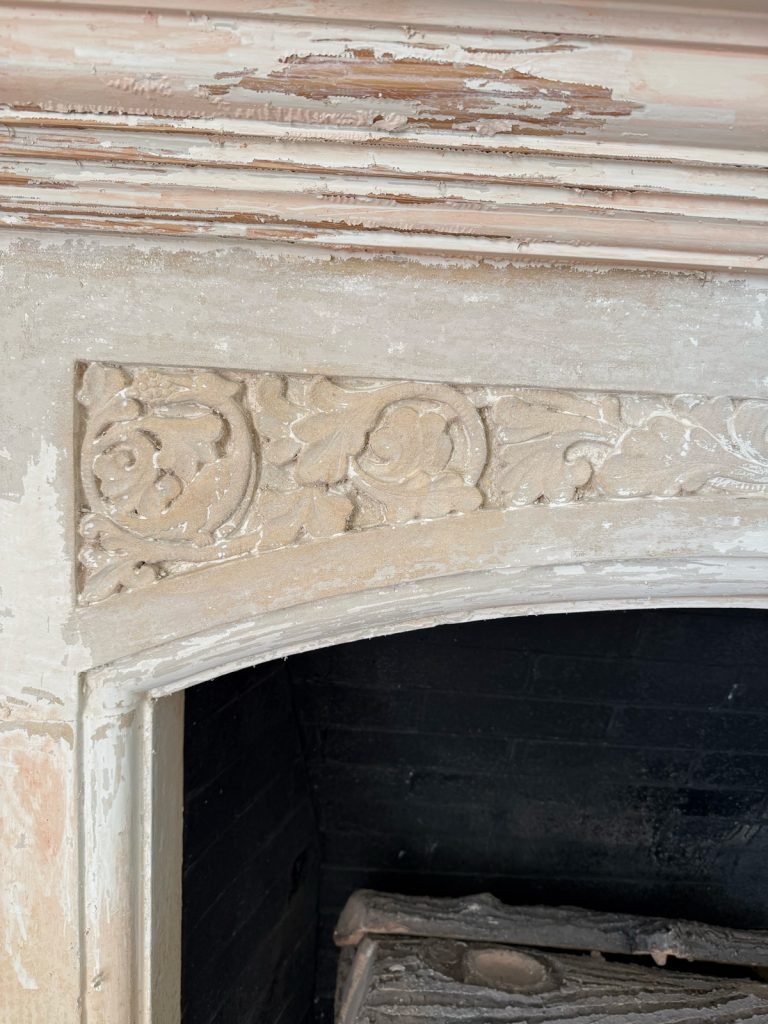
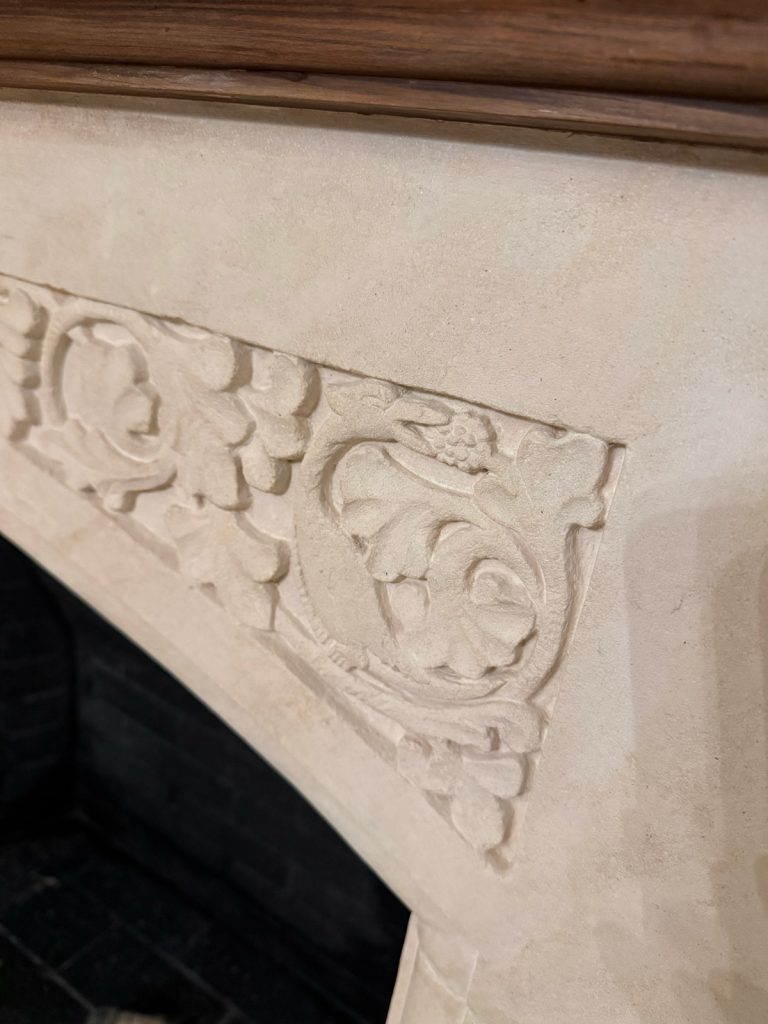
The intricate carving made this a much bigger project than simply removing paint from a flat surface. Every little nook, cranny, vine, and creature required attention. I spent several late-night sessions over the course of a few weeks working my way around the fireplace, carefully removing paint without damaging the details underneath.
I was also a little nervous about what the Citristrip might do to the color of the limestone itself. I had tested a small area, but that did not stop me from second-guessing the decision once I had committed to the entire fireplace. I held my breath for a solid three weeks, hoping I had not traded one problem for another.
Cleaning Up the Details
Once all of the paint was removed, it was time to clean the stone. I used mild soap and water first, followed by liquid Bar Keepers Friend and a scrub brush to work on the remaining discoloration. I then went back over everything with soap and water again and allowed the limestone to dry.
It was a slow process, but seeing the original stone emerge from underneath all that paint made every late night worth it. The details that had been hidden for who knows how long were finally visible again, and the fireplace was beginning to look like the feature it was always meant to be.
Sealing the Deal
At this point, I was pretty thrilled with the results. I had gotten the paint off, cleaned the stone, and could finally appreciate all of those beautiful details again. Then, naturally, I got distracted by approximately a hundred other renovation projects and left the fireplace alone for a few months.
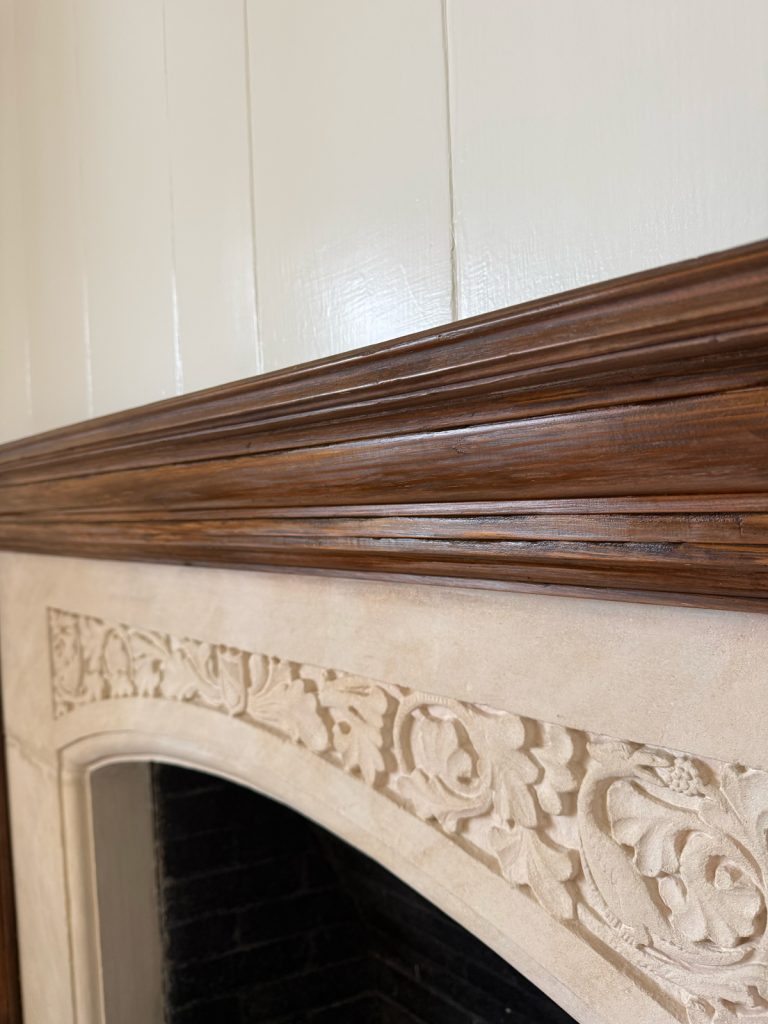
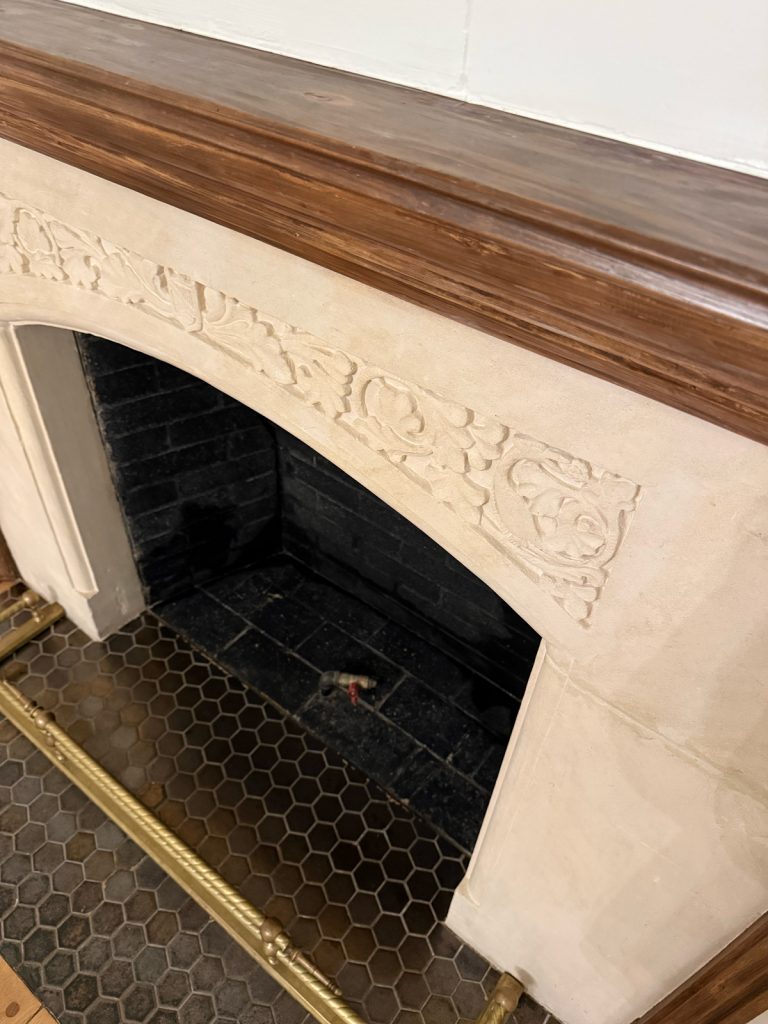
When I finally circled back to it, I applied two rounds of sealer to the limestone. That was the finishing touch, and I could not have been happier with how it turned out. The stone looked beautiful, and the character of the original fireplace was finally back where it belonged.
By the skin of my teeth I was able to get the wood mantle sanded and a few coats of stain to match the walnut pegs in the floor. I still need to add a few coats of sealer but she may stay like this for a minute because I’m dying to see her dolled up for Christmas. As I’ve said before – I’ve always been a cart before the horse kinda girl.
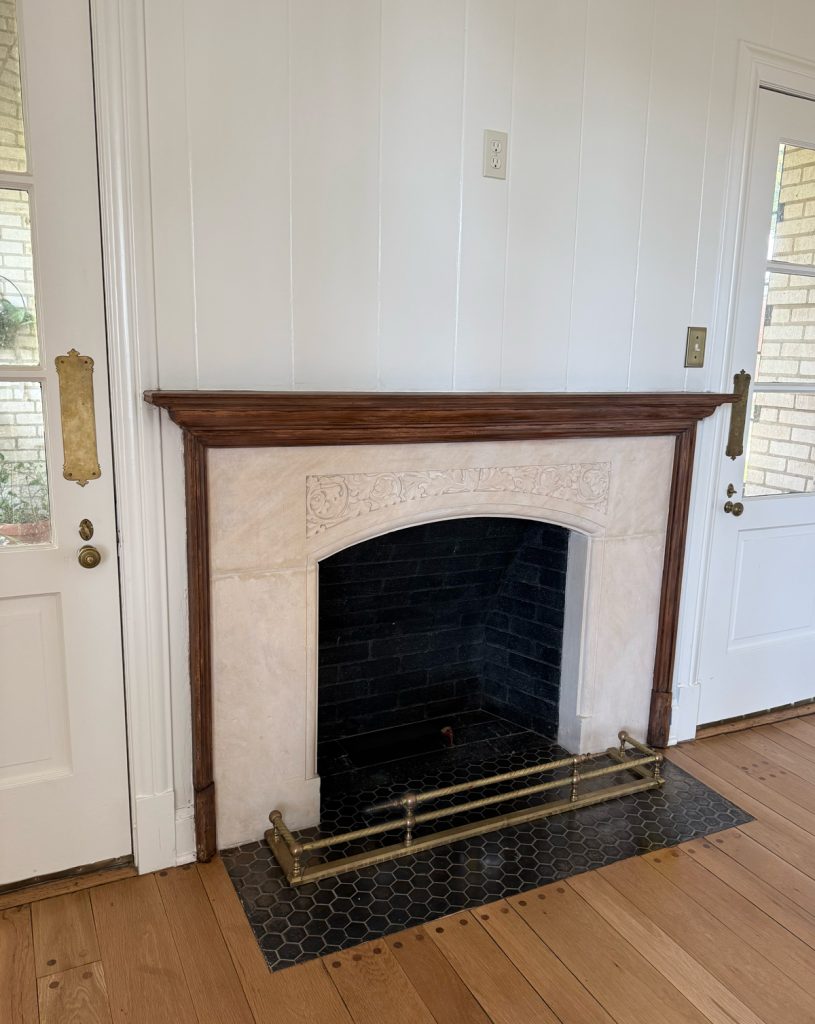
For now, I am just happy to have uncovered something beautiful that was hiding in plain sight. This fireplace has been part of this house for nearly a century, and I love that we were able to bring its original character back instead of covering it up with another layer of paint.
One more little piece of Tudor on Sixth history restored, and one less thing for me to wonder about every time I walk into the living room.