
There are a lot of things you expect when you decide to renovate a nearly century-old house. Dust, demolition, unexpected expenses, questionable decisions, and more dust are all pretty much guaranteed.
What we did not expect was that one of our biggest renovation projects would involve us getting completely, thoroughly and repeatedly plastered.
And no, not that kind. Although there were definitely days during this renovation when I wouldn’t have blamed anyone.
Discovering What Was Behind the Walls
When we first looked at Tudor on Sixth, we had no idea that most of the walls and ceilings were constructed using metal lath and plaster rather than drywall. Honestly, I didn’t think much about it at all. You walk into an old house and see walls. You don’t necessarily stop to think about how those walls got there. We certainly didn’t.
That changed pretty quickly once we started renovating.
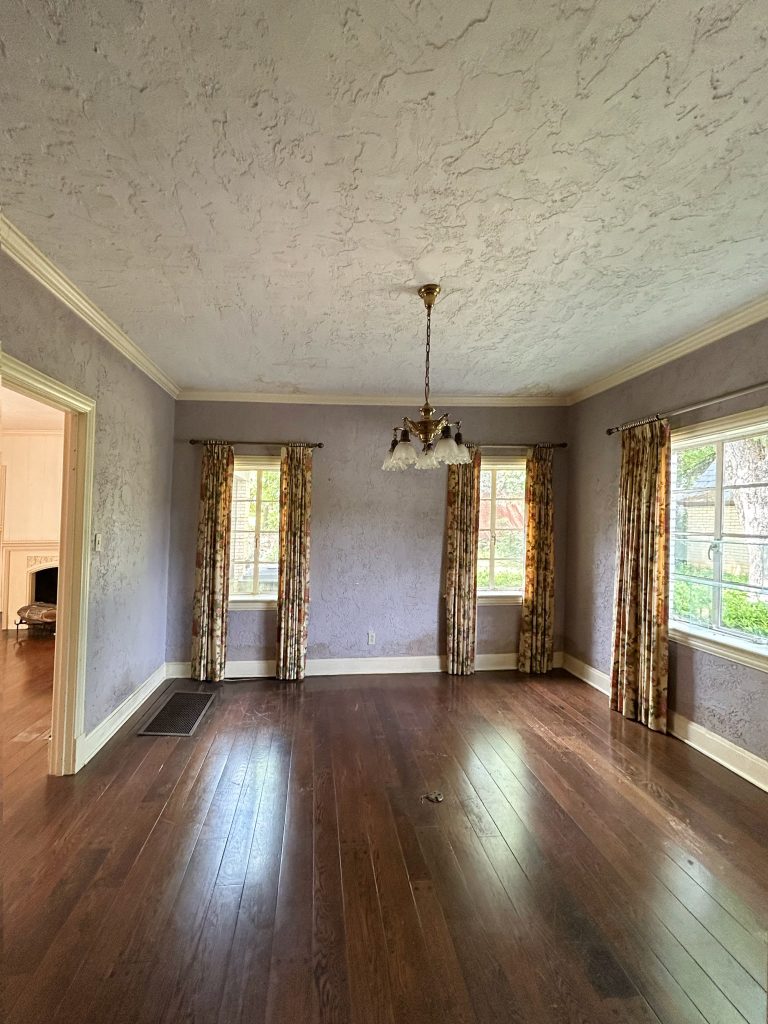
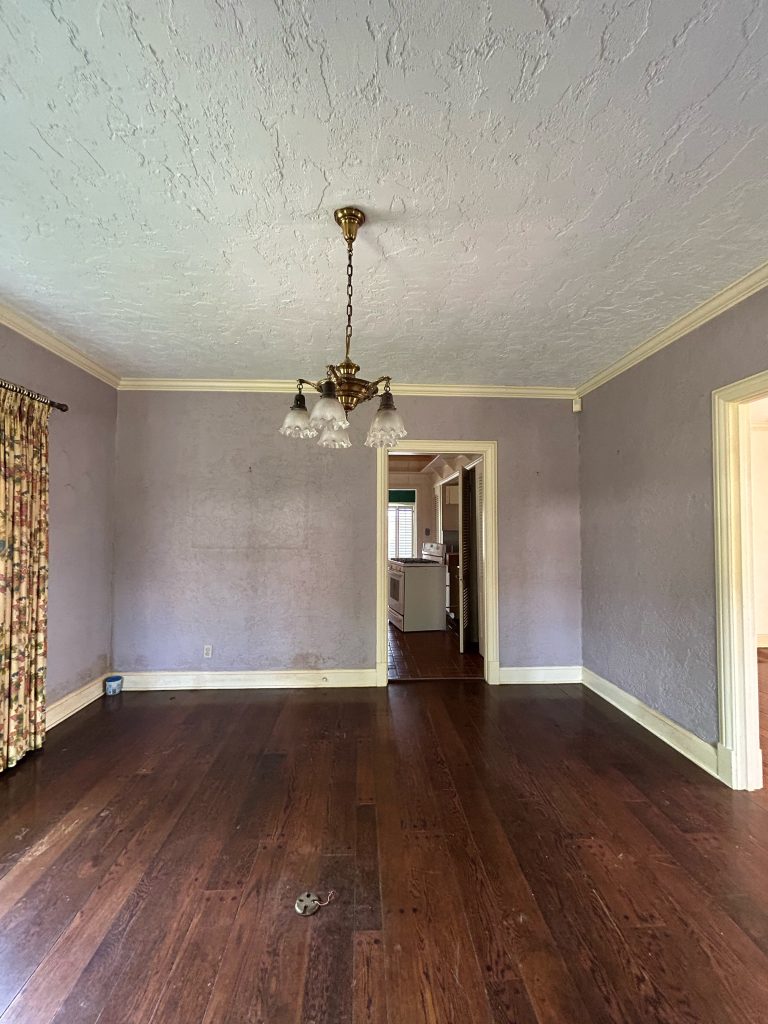
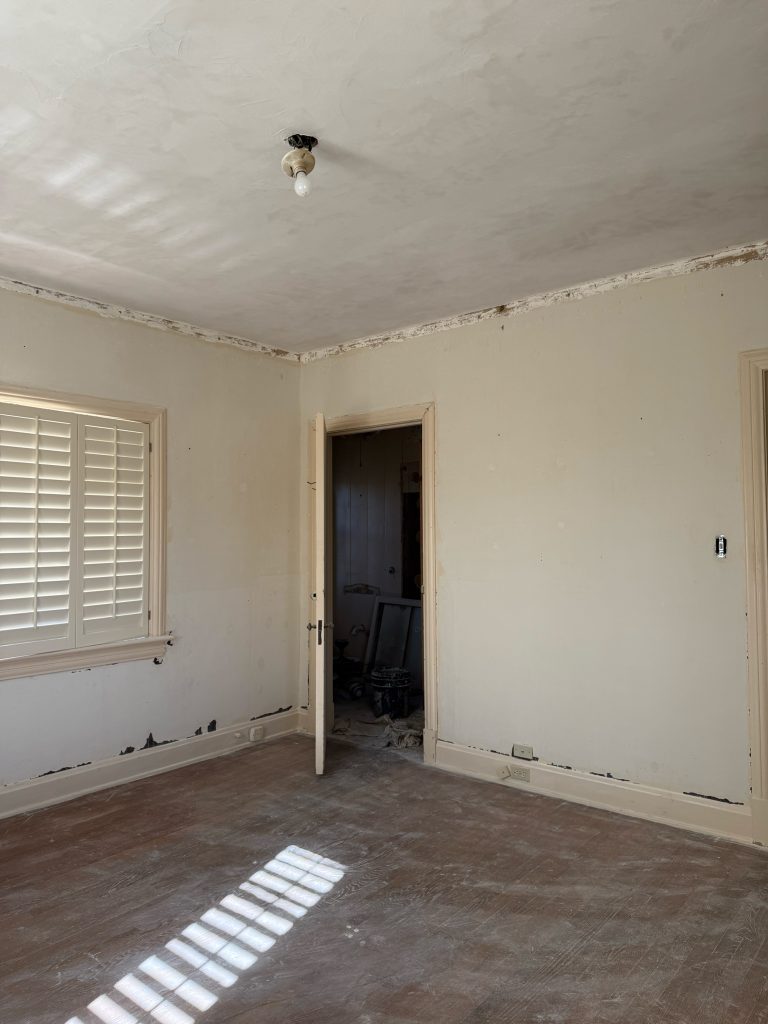
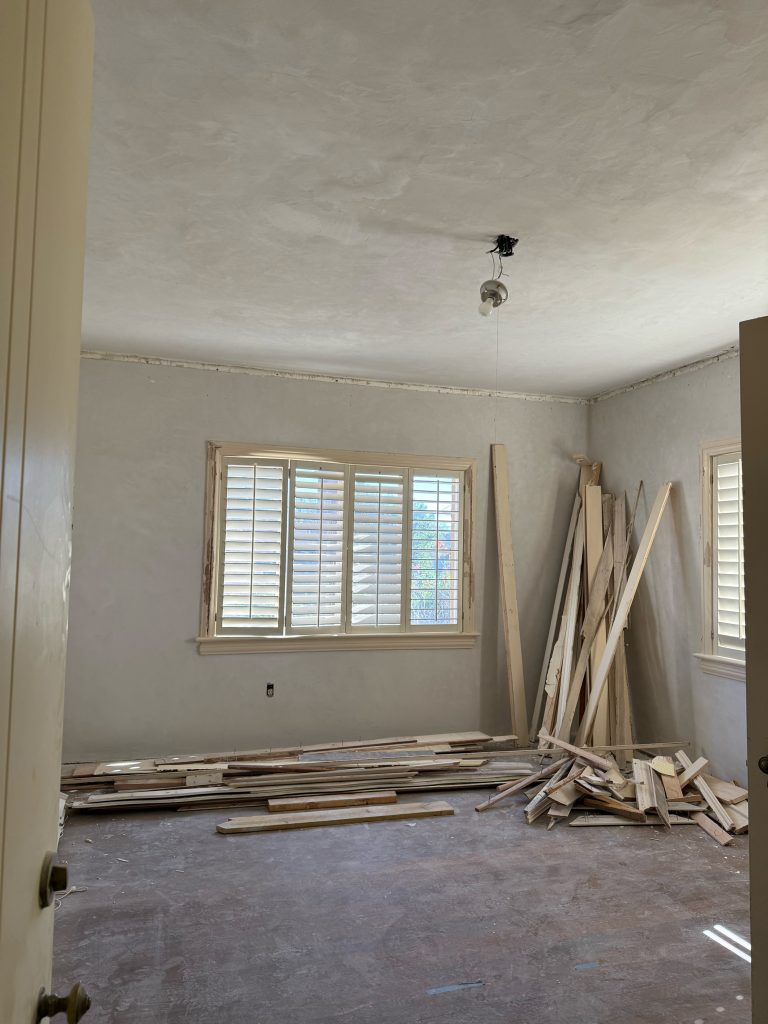
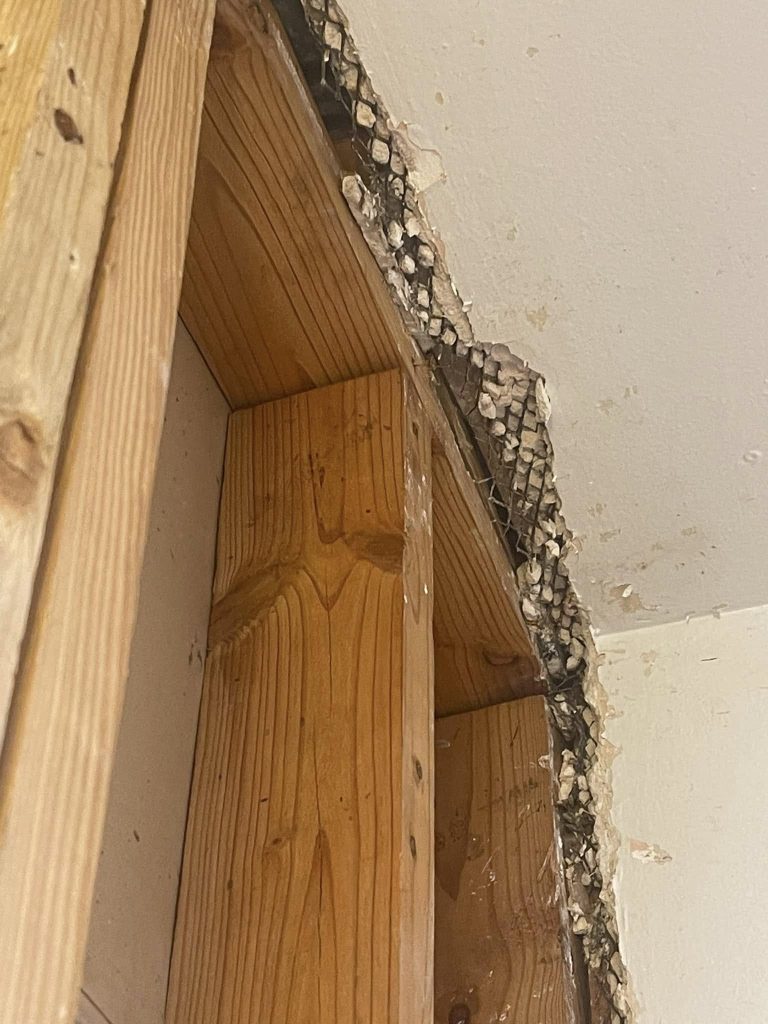
We soon discovered metal lath and plaster was a common construction method during the era when our Tudor was built. Instead of attaching large sheets of drywall directly to the framing, the builders attached sheets of expanded metal lath to the walls and ceilings and then applied plaster over it.
If you’ve never seen metal lath before, it is essentially a sheet of metal that has been cut and expanded to create a diamond-shaped mesh. The plaster is applied over the metal and pushed through the openings. As the plaster dries, it forms little projections behind the lath called plaster keys. Those keys mechanically lock the plaster to the metal and keep the finished surface attached to the wall or ceiling.
So, in the simplest terms, the metal lath provides the support, the plaster creates the finished surface, and somebody back in the 1930s had considerably more patience than most of us do today.
A Little History Lesson
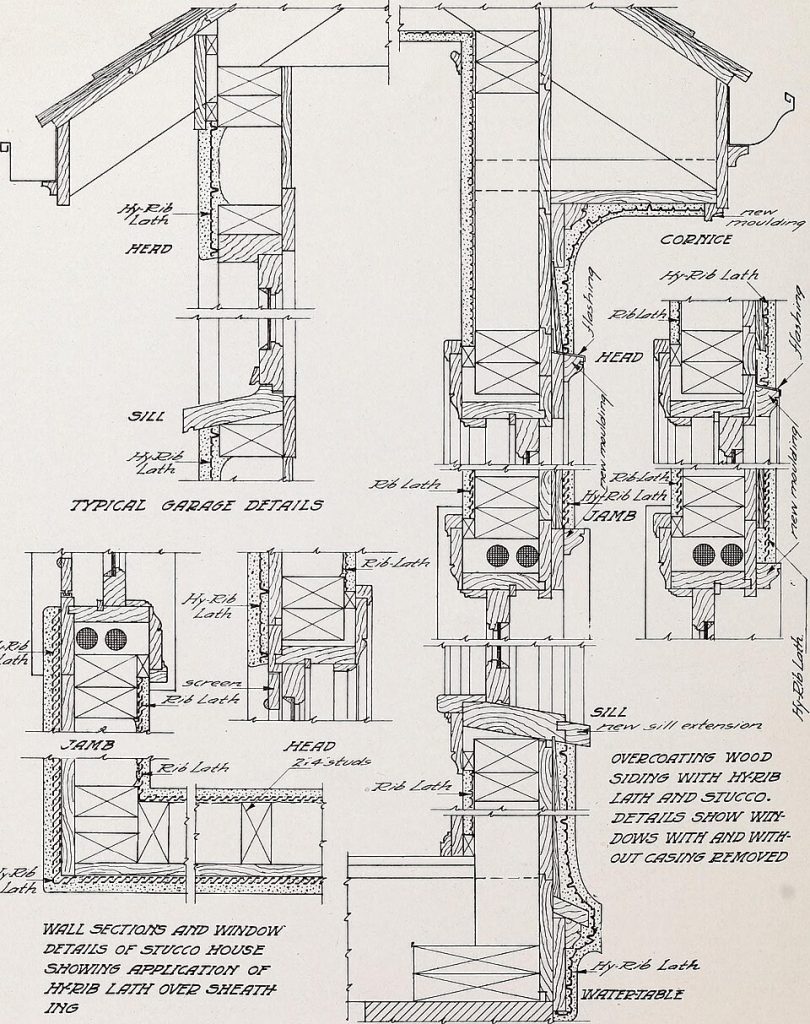
Metal lath isn’t unique to Tudor on Sixth. Forms of metal lath were being developed and used in the late 19th and early 20th centuries, and expanded metal lath became increasingly common during the early 1900s. One early patent for expanded metal lath was granted in 1914, describing a sheet of metal that was slit and expanded to create openings that allowed plaster to grip the surface.
The material offered several advantages over traditional wood lath, including its rigidity and its ability to create a strong mechanical bond with the plaster. Metal lath was also useful in fire-resistant construction, making it an attractive option for builders.
In other words, the people who built our house weren’t doing anything unusual. They were using the building technology available to them at the time.
Fast forward 93 years when she became ours and we found oursleves with a whole new challenge.
Enter Lorenzo
Unfortunately for us, we weren’t just admiring the history of plaster. We had to actually repair it. This is where Lorenzo and his team came in.
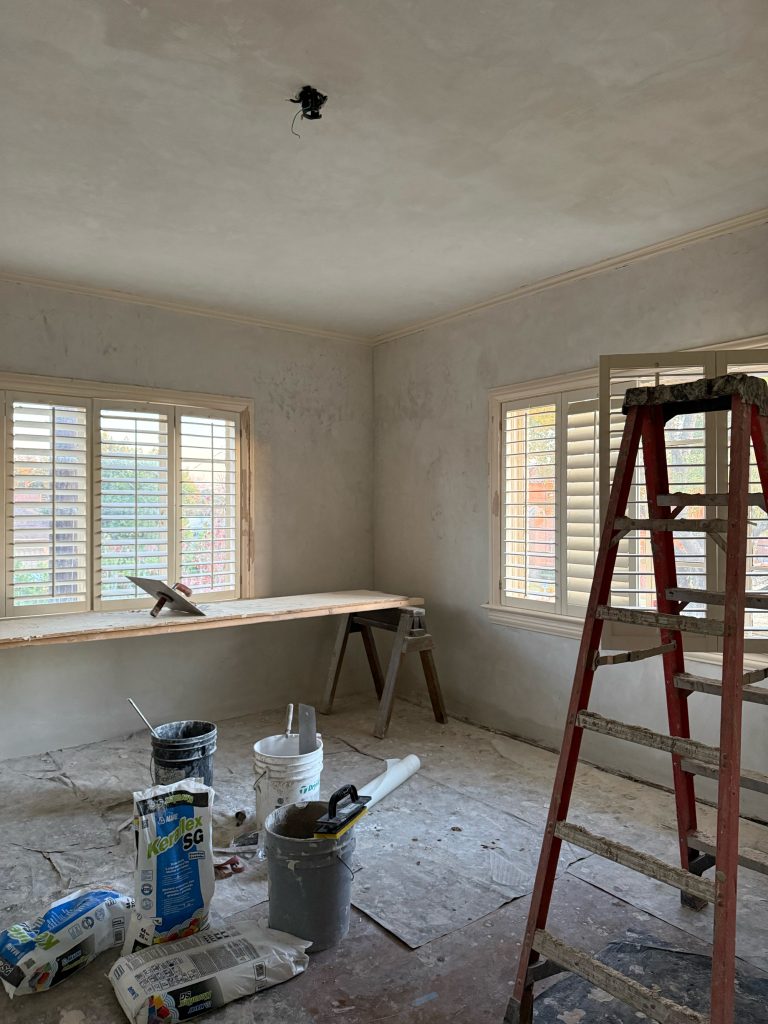
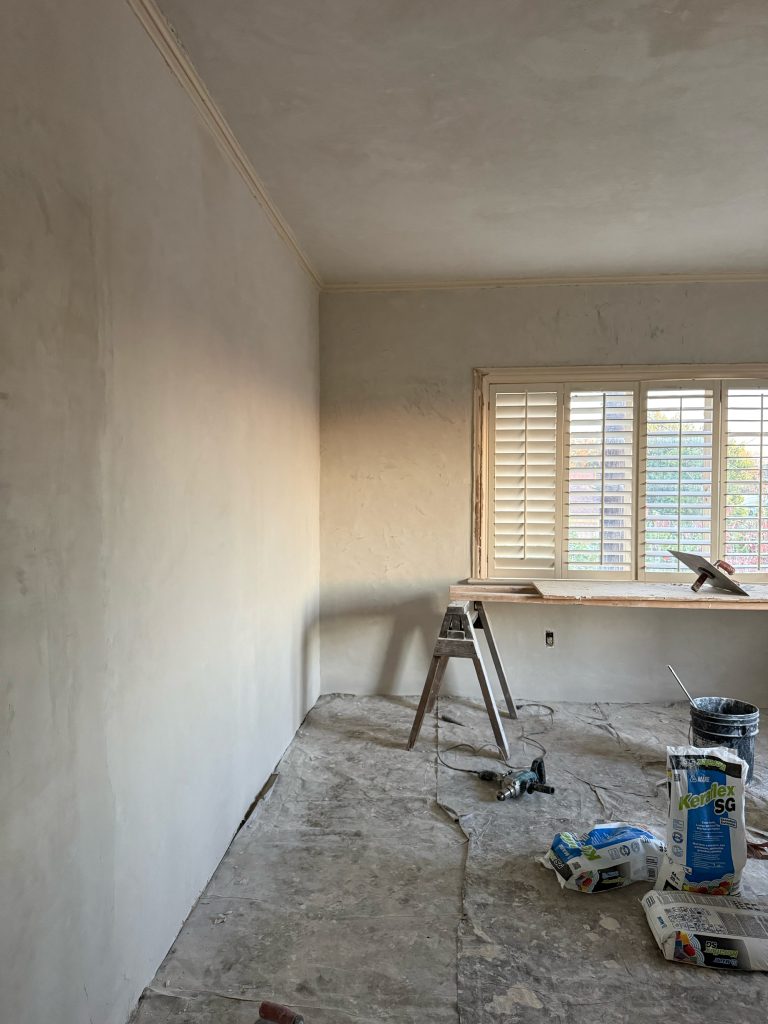
Over several months, they worked their way through most of the house, repairing and replastering walls and ceilings. It was one of those projects that seemed to take over the house for a while, but the results were worth the patience.
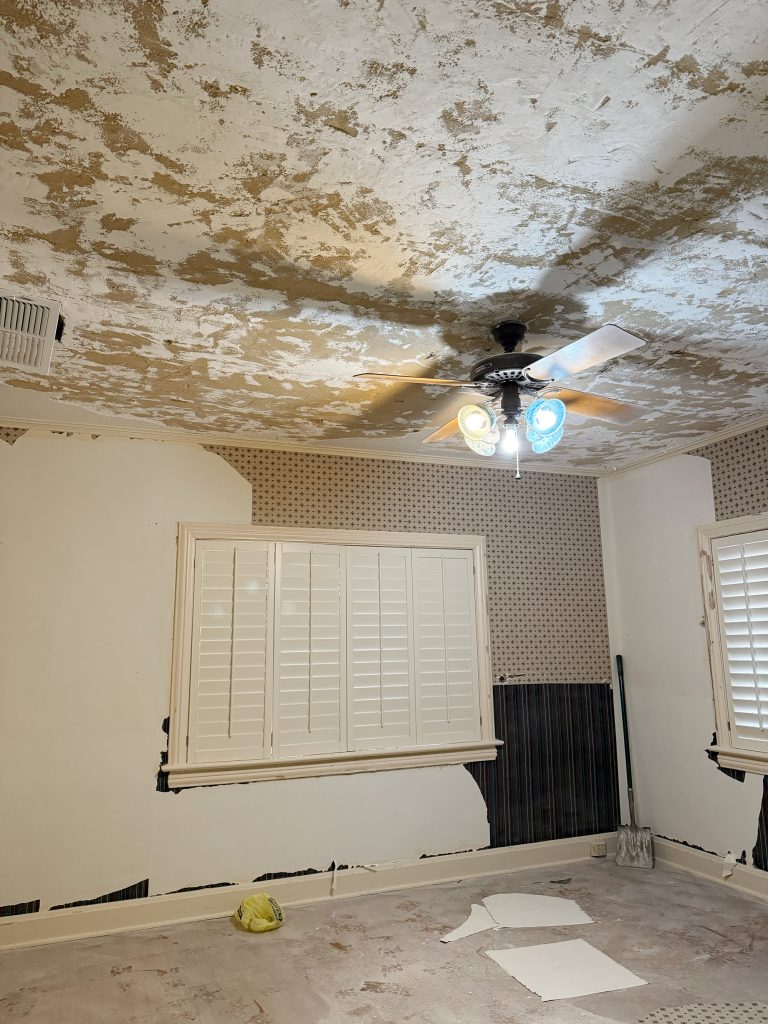
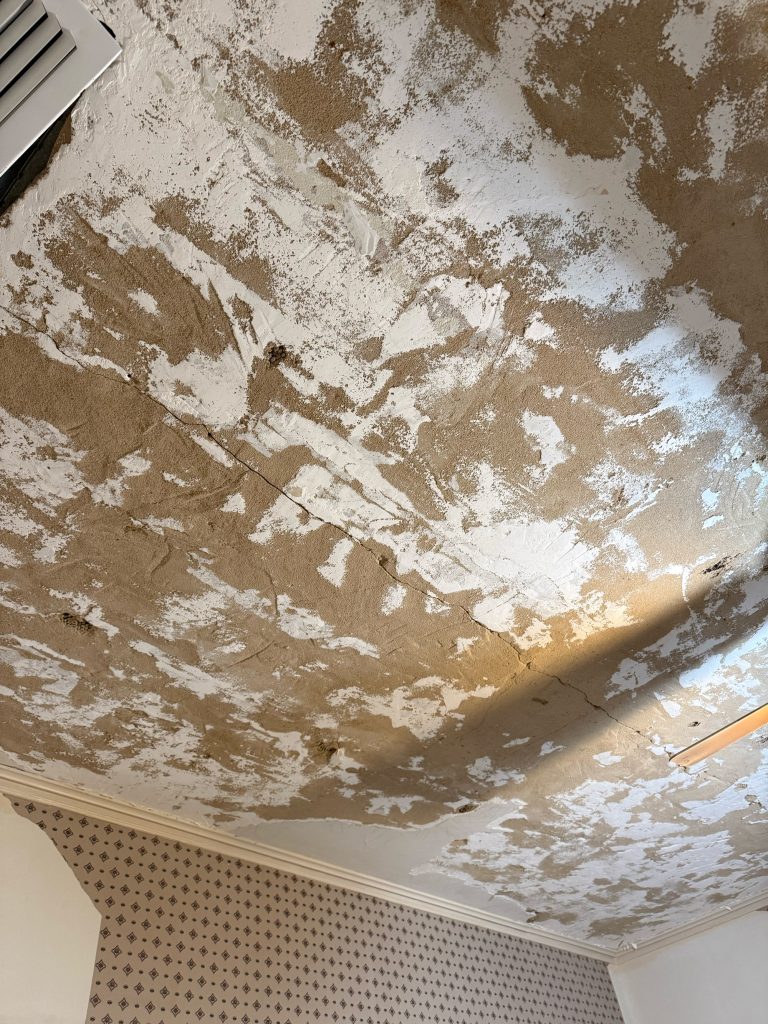
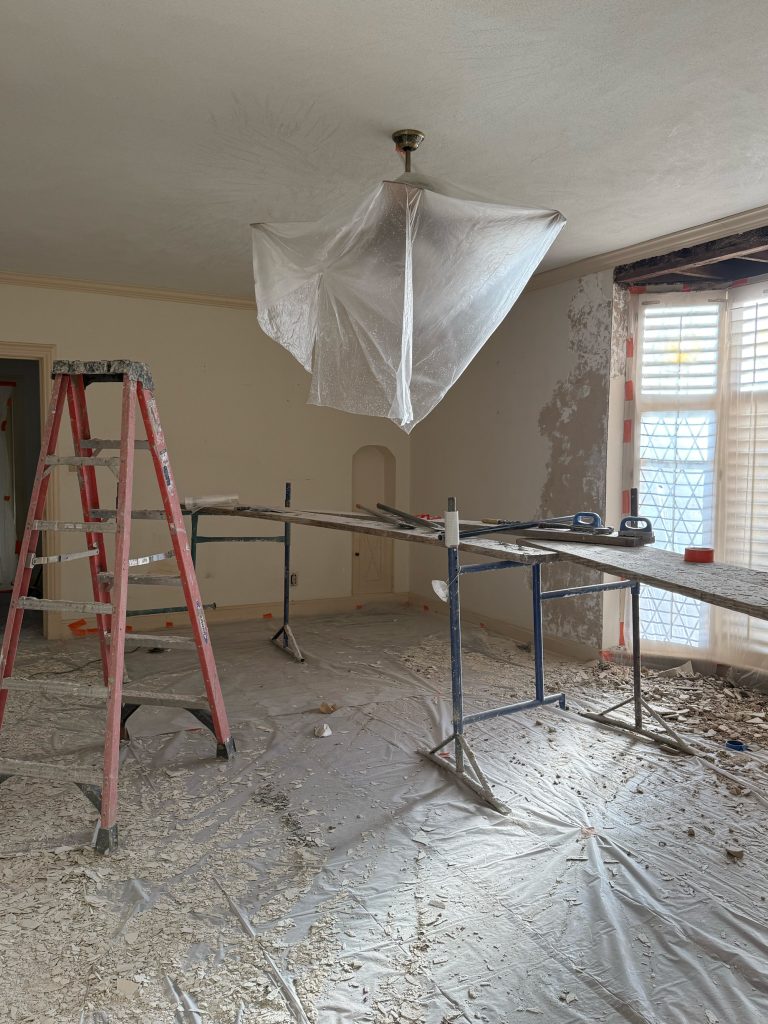
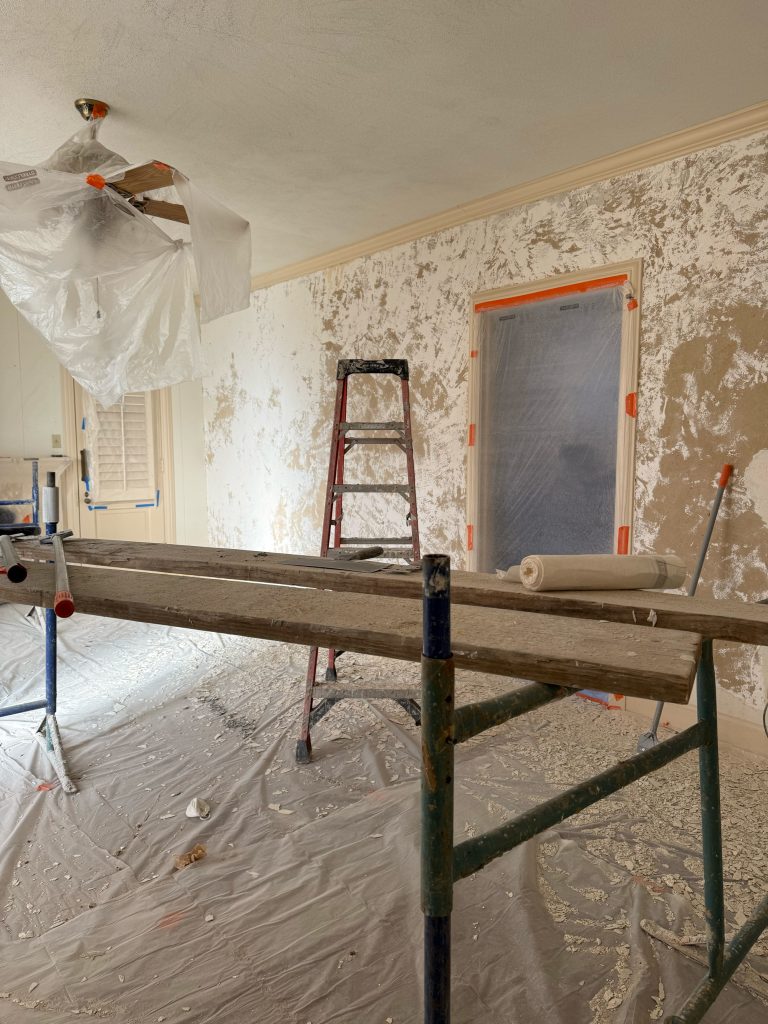
Unlike drywall, where a large sheet can cover a wall relatively quickly, plaster is a much more involved process. Areas have to be properly prepared, the plaster has to be applied in layers, and the material has to cure properly before the next stage can be completed.
Watching Lorenzo and his crew work gave me a whole new appreciation for the craftsmanship involved. This isn’t a process you rush. It is very much a layer-by-layer, room-by-room kind of project.
And because we were dealing with an old house, there were plenty of places where the existing plaster needed more than a simple patch. Some areas needed to be completely replastered. Some needed extensive repair. And some required us to uncover what was happening underneath before we could determine the best way to move forward.
Then there was a crack in the plan
Just when we thought we were making good progress, the house reminded us that it had been standing for nearly a hundred years and wasn’t finished surprising us.
We discovered structural issues in the attic that had caused movement in the upstairs ceilings. That movement resulted in cracks in some of the plaster.
Which meant that after Lorenzo and his team had already spent all that time repairing and replastering those ceilings, we had to have some of the work done again.
Because apparently, once you get plastered, you don’t necessarily get to stay plastered.
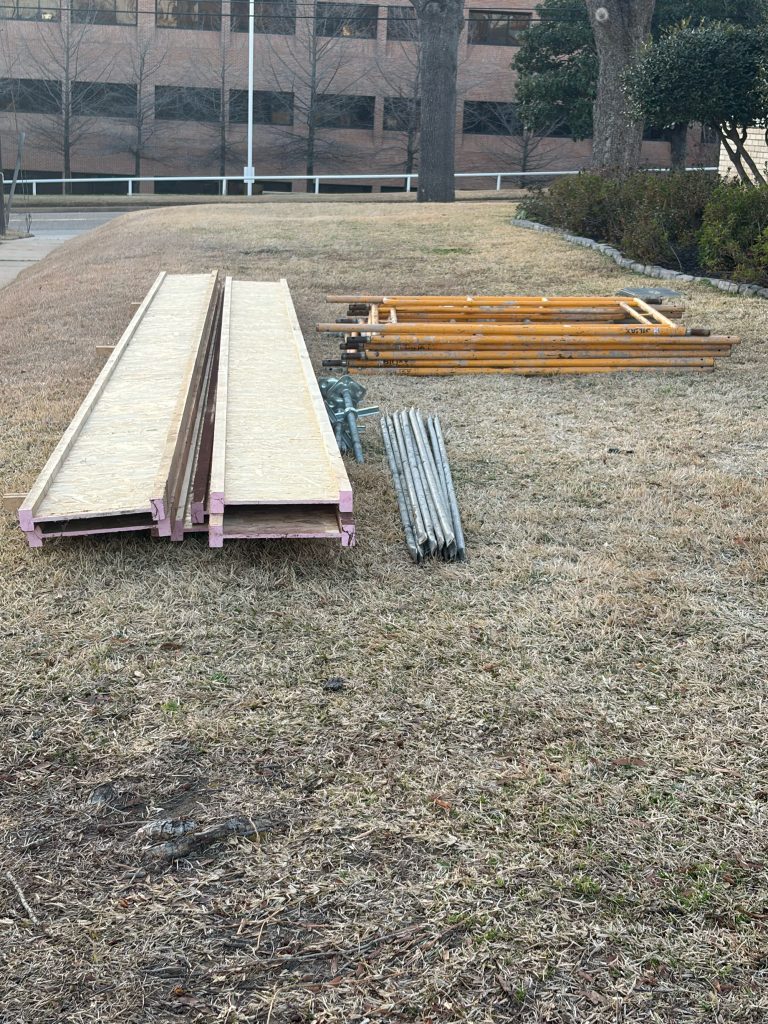
The important thing about plaster cracks is that the crack itself isn’t always the actual problem. Sometimes it is simply the messenger.
If something is moving behind the plaster, you can repair the crack all day long, but if you don’t address what is causing the movement, the crack is likely to come back.
So we had to address the structural issues first and then bring Lorenzo and his team back to repair the affected ceilings.
It’s one of those lessons you learn pretty quickly when renovating an old house: you can’t just fix what you can see.
Naked Plaster is the best plaster IMO
One of the things I really love about plaster is its natural texture. Lorenzo offered to texture the walls for us, which would have created a more uniform and finished appearance, but I decided against it.
I wanted to keep the natural texture of the plaster.
I didn’t want the walls to look like modern drywall that had been intentionally textured. I wanted them to look like plaster.
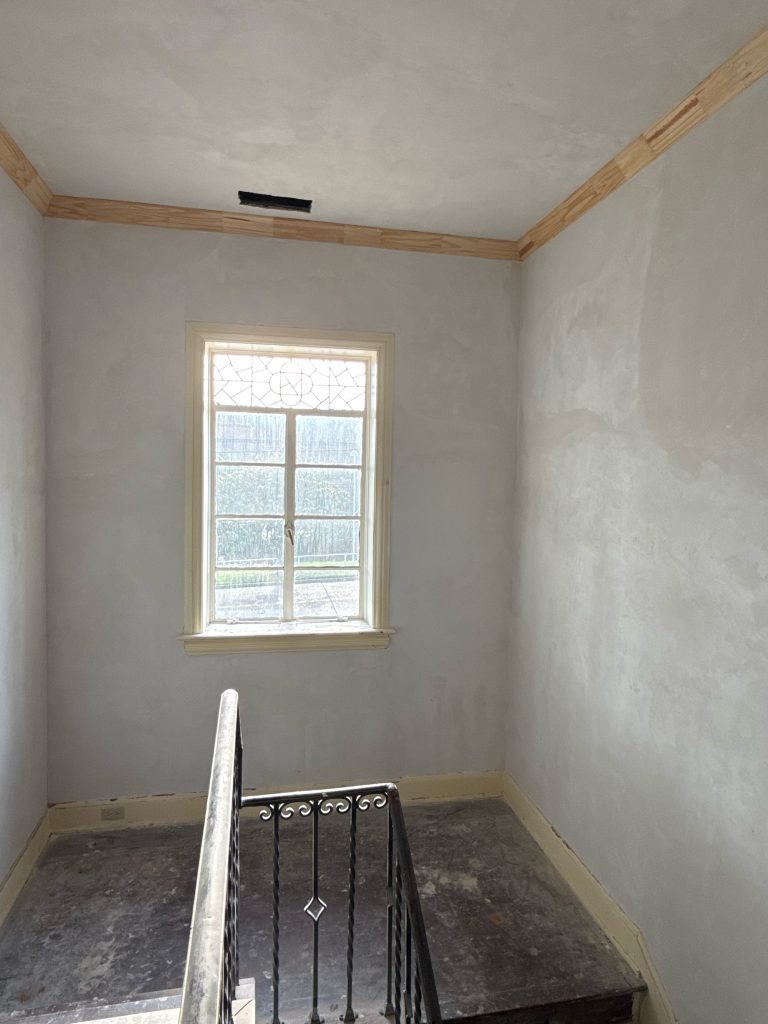
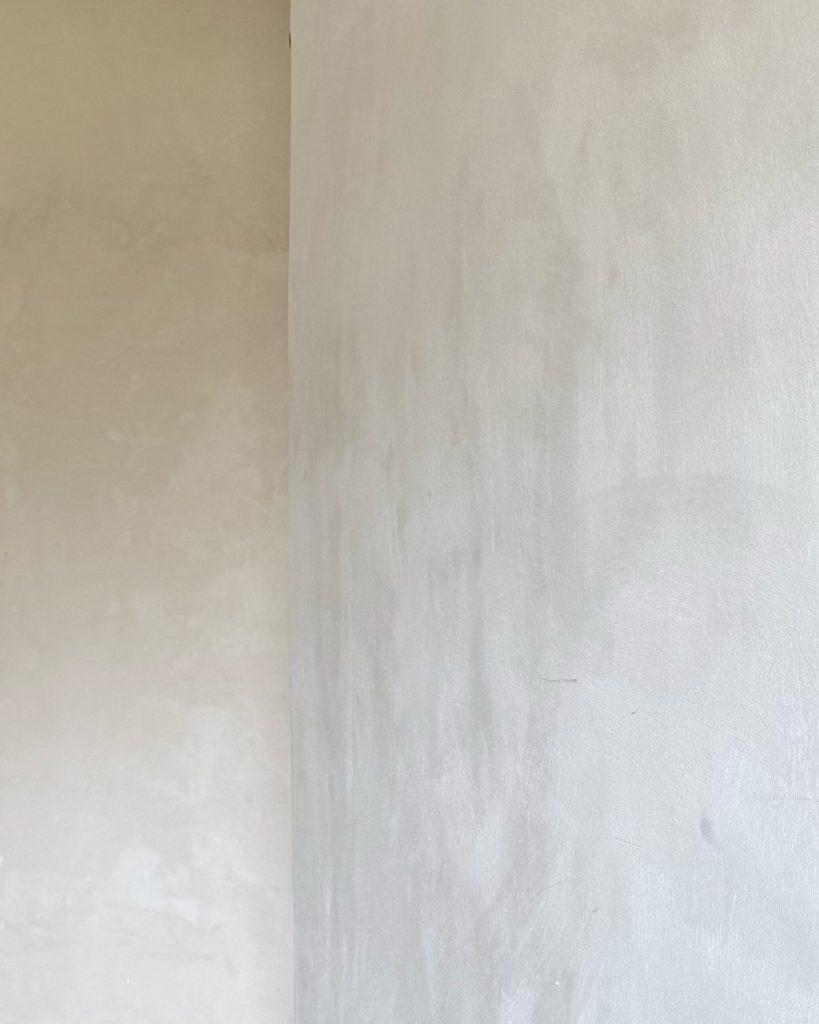
There are subtle variations in the surface, and I love that you can see evidence of the craftsmanship. It isn’t perfectly smooth, and that’s exactly what I wanted.
We’re not trying to make Tudor on Sixth look like it was built yesterday. We’re trying to restore it in a way that allows it to feel like the nearly century-old house that it is.
To me, those little imperfections are part of the charm.
These Walls Have a Story
I think this is one of the biggest lessons I’ve learned during this renovation: sometimes the things you don’t see are just as important as the things you do.
When we first walked through this house, I didn’t know there was metal lath behind those walls. I didn’t know how the plaster was constructed, how labor-intensive it would be to repair, or that we would eventually have to replaster some of it twice.
Now I look at those walls completely differently.
I know what’s underneath them. I know how they were built, and I know how much work Lorenzo and his team put into preserving them.
That’s really what this renovation has been about from the beginning. We aren’t trying to make an old house look new. We’re trying to make an old house work again while allowing it to remain an old house.
The metal lath and plaster are just one more piece of the history that makes Tudor on Sixth what it is. So yes, we’ve been getting plastered. A lot.
And while I wouldn’t necessarily recommend the experience to everyone, I’m pretty happy with how we turned out. At least until the next renovation surprise.
Next up: Party on the Terrace – exposing all the goods…